
Restaurant Planning
Restaurant Booth Dimensions: A Practical Planning Guide
A booth layout has to do more than fit on a floor plan. It has to give guests a comfortable seat, give staff room to move, and hold up through years of daily service.
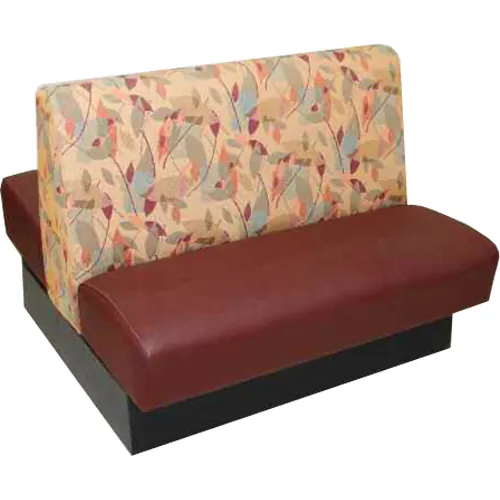
Restaurant booth dimensions are not one fixed number. A compact lunch counter, a family restaurant, an upscale lounge, and a healthcare dining room all ask more of the same basic form. The best layout begins with the guest experience, then works backward through table size, circulation, structure, upholstery, and the realities of installation.
That is why an early plan should answer a few plain questions: How many people sit at each table? Will servers move between the rows? Do guests need room for coats, bags, or high chairs? Is the room mostly booths, or do booths need to live beside tables and chairs? A clear answer prevents the expensive version of the problem, discovering after installation that the seats look right but the room does not work.
This guide gives useful starting points, not a substitute for a final architectural or code review. Custom commercial seating should be sized around the actual plan, the service model, and the people using the room.
Start With the Seating Module
A booth is easiest to plan as a repeatable seating module. For a conventional wall booth, a comfortable seat cushion is often planned around 18 to 20 inches deep. That lets most adults sit back without feeling perched on the edge, while keeping the table close enough for a meal. The overall depth increases when the back, internal frame, wall protection, and any decorative cap are included.
Seat height matters just as much. Dining seats generally land near standard chair-seat height so the table feels natural when guests slide in. A lower lounge-style seat can be inviting, but it needs a correspondingly lower table. Pairing a low seat with a standard dining table is a reliable way to make an otherwise good booth feel awkward.
For width, begin with the number of diners and the way they share the table. Two-person booths frequently start around 44 to 48 inches wide. Four-person booths commonly begin around 48 to 60 inches wide, depending on table shape and the intended amount of personal space. That range is a planning baseline, not a promise. A large menu, family-style service, tableware, or a busy bar program may deserve more room.
Match the Table to the Booth, Not the Other Way Around
The table is the working center of the booth. Too narrow and the setting feels cramped. Too wide and diners have to lean forward, while the booth takes up more floor area than it earns. Start by deciding what needs to live on the tabletop during the busiest service: place settings, shared plates, drinks, menus, payment devices, condiments, and the occasional laptop or kid's coloring sheet.
For two people facing each other, a table around 24 inches deep is often a useful place to begin. A four-person booth usually needs more depth, especially when service includes shared plates or full-size dinnerware. The booth and table should be tested together at the final seat height. A change in cushion thickness, a heavier tabletop, or a pedestal with a wide base can all affect how easily guests slide into the seat.
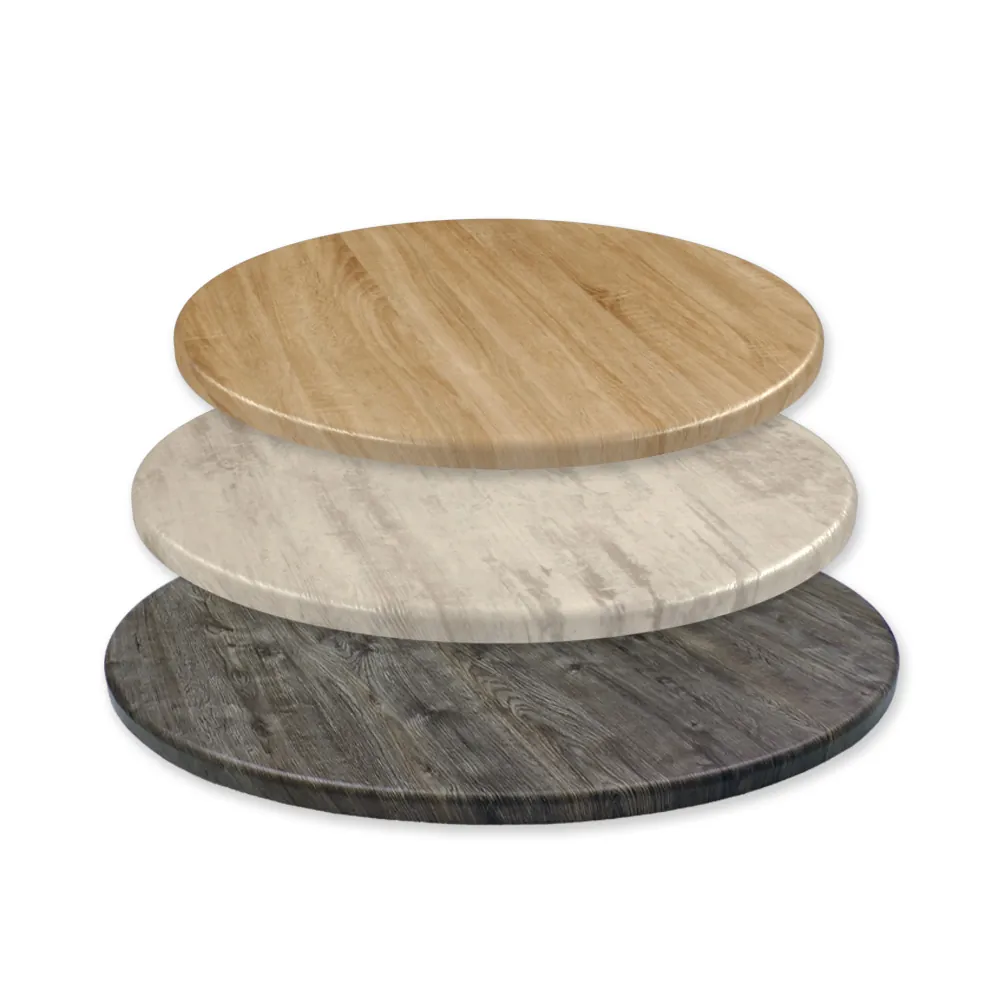
Table overhang is part of that comfort. Guests should be able to sit close enough to eat without pressing their knees into the base or stretching for the far edge. This is especially important with pedestal tables. A base that looks compact from across the room can still compete with knees, feet, bags, and mobility aids once the seating is in use.
Plan the Full Footprint, Including the Aisle
The booth footprint is only half the layout. A dining room succeeds or fails in the circulation around it. Staff need space to pass each other, guests need a clean path to their seats, and the room needs to remain practical when chairs move or a stroller, cart, or mobility device enters the picture.
Rather than applying one universal aisle number, map the real movement through the room. Trace a server carrying a tray from the kitchen, a guest leaving the back booth, and a host bringing a party to a table. Note every pinch point. A narrow passage may be acceptable beside a rarely used wall table, but it can slow every turn in a high-volume dining room.
Booth backs can help define circulation because they create a stable edge, but they should not become a hard barrier that traps staff or makes a room feel like a maze. When booths face each other, remember to include the depth of both seats, the table zone, and the service path between them. The gap that looks generous on a plan can disappear after upholstery, wall trim, and occupied chairs are accounted for.
Choose Booth Back Height for Privacy, Sightlines, and Maintenance
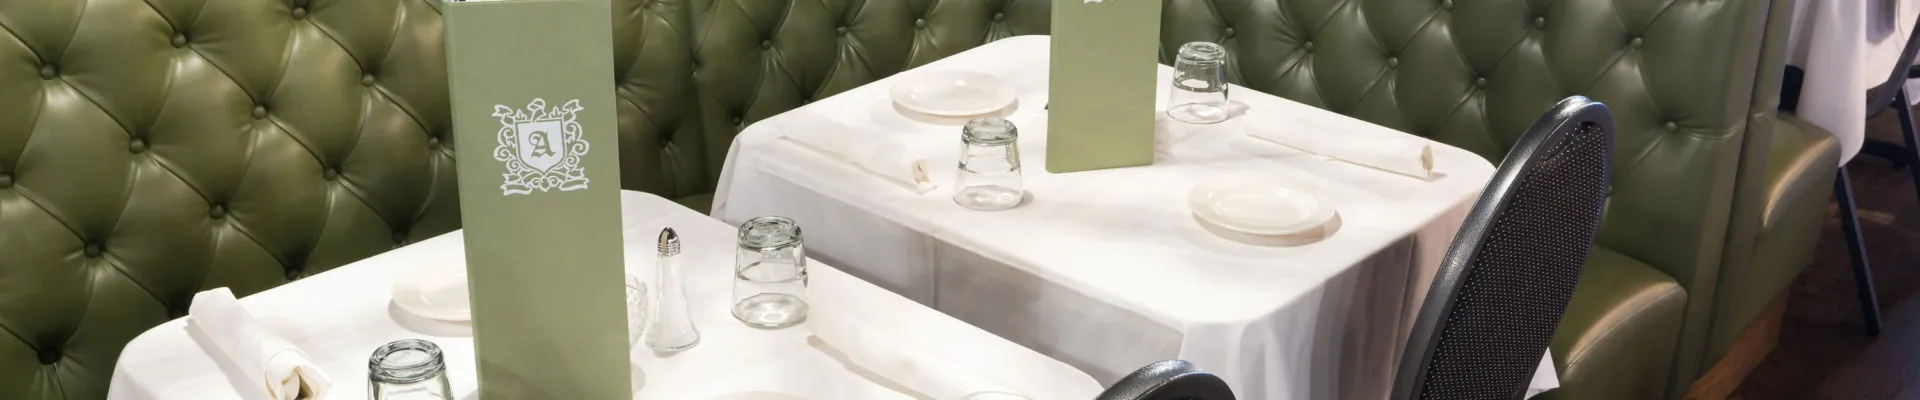
Back height changes how a room feels. Lower backs keep sightlines open and make a compact room feel more connected. Mid-height backs give diners a stronger sense of place without closing the room off. High backs can create intimacy, soften sound, and define zones, but they need more deliberate detailing and cleaning access.
There is no universal right height. The decision should follow the room's job. A quick-service restaurant may benefit from an open, energetic look. A lounge, a hospitality waiting area, or a dining room that wants quieter conversations may benefit from more separation. The wall treatment, lighting, and view across the room should be considered at the same time, because a booth back is a major visual line.
Also plan for the parts people do not photograph. Crumb rails, wall gaps, removable seats, and durable upholstery details make it easier to keep the booth clean and serviceable. In commercial use, a beautiful profile that collects debris or cannot be repaired without major disruption gets old quickly.
Do Not Leave the Base Until the End
A booth and table base work as a pair. The base needs enough weight and footprint to support the top, but it also has to stay out of the way of knees and feet. For longer communal tables or heavy tops, multiple supports may be needed. For smaller tops, a compact base can make the seat feel easier to enter and exit.
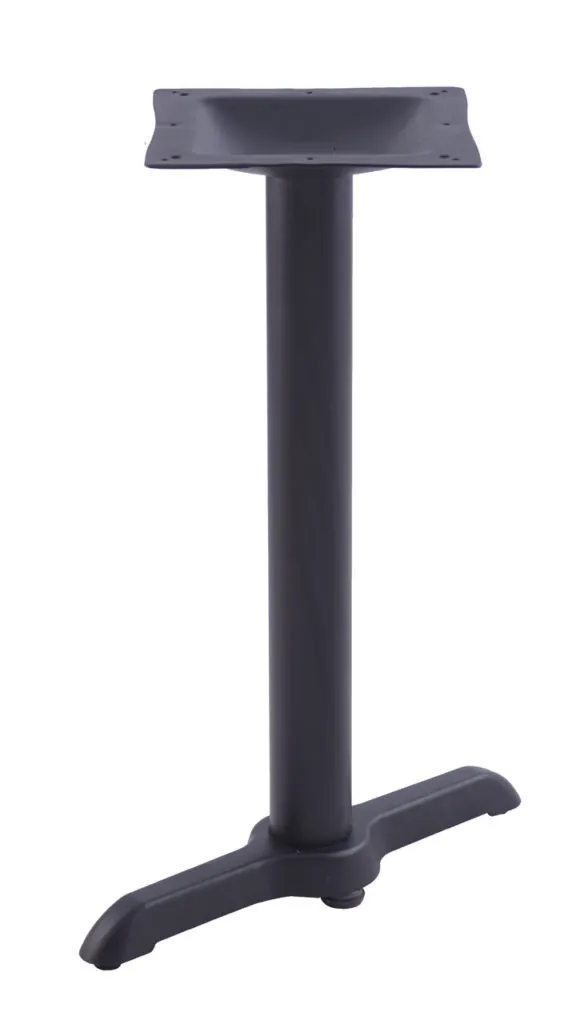
Ask about the actual top material, finished size, and intended use before selecting the base. A laminate top, solid wood top, and stone-look surface can have very different support needs. The same is true for outdoor areas, movable tables, and spaces where guests commonly push tables together. A solid plan keeps the furniture stable without giving up the leg room that makes a booth comfortable.
Build Accessible Seating Into the First Layout
Accessible seating is best handled as a core planning decision. The 2010 ADA Standards for Accessible Design cover accessible dining surfaces, clear floor space, and knee and toe clearance. Those requirements affect where an accessible table sits, how it is approached, and whether a guest can use it independently.
Booths can still be part of an inclusive room, but the plan needs a mix of seating types and a route that actually works in operation. A local architect, accessibility consultant, or code official should review the final project because requirements can vary by building, jurisdiction, and renovation scope. The right time for that review is before the seating is fabricated, not after the floor is full.
A Simple Booth Planning Checklist
- Confirm the number of guests each booth must seat during the busiest service.
- Choose table depth and width based on the actual serviceware and menu style.
- Test seat height, cushion depth, table height, and table overhang together.
- Map guest and staff movement through every aisle, not just the main path.
- Coordinate booth back height with sightlines, lighting, privacy, and room acoustics.
- Specify a table base that supports the finished top without crowding feet and knees.
- Include accessible dining positions and their approach routes in the original layout.
- Allow for cleaning, repairs, wall protection, and the realities of daily use.
Before You Send the Booth Schedule
The best time to find a layout problem is while it is still a line on a drawing. Put the proposed booth and table dimensions into a simple mockup, then walk through the busiest moment of service. Check where a guest places a bag, where a server turns with a tray, and what happens when two parties stand at once. Those small moments tell you more than an empty floor plan.
Bring the furniture maker into the conversation early enough to review the full set of decisions together. A custom booth can solve for a difficult wall, a column, a change in floor height, or a special upholstery requirement, but only when the finished dimensions are understood before fabrication starts. Sharing the plan, table schedule, and material priorities early gives the project room to make smart tradeoffs instead of last-minute compromises.
How Randy's Booth Company Helps Bring the Plan Together
A good plan deserves furniture built around it. Randy's Booth Company makes commercial seating and furnishings in Crystal, Minnesota, with the custom dimensions, upholstery options, back styles, and construction details a real hospitality project needs. Start with the booth collection, pair the seating with commercial tables and bases, and see how finished spaces come together in the restaurant projects gallery.
When the layout is ready for a closer look, the team can help turn the measurements, materials, and project priorities into furniture that fits the room rather than forcing the room to fit the furniture.
Talk through your projectFrequently Asked Questions
What is the standard depth of a restaurant booth?
A practical starting point is a seat depth around 18 to 20 inches, measured from the front of the cushion to the inside back. The overall booth depth grows once the back, framing, and wall clearance are included. Taller backs, heavily contoured cushions, and special upholstery details can all change the final footprint.
How wide should a restaurant booth be?
Start with the number of guests the booth needs to seat and the table shape. A two-person booth often begins around 44 to 48 inches wide, while a four-person booth commonly begins around 48 to 60 inches. More width is needed when the menu format, place settings, service style, or guest comfort calls for extra elbow room.
How much space should be between restaurant tables?
The right clearance depends on traffic, service style, chair movement, and accessibility. The key is to plan the full route, not just the space between table edges. Account for guests sitting down, servers carrying trays, and any accessible path through the room before locking the layout.
Can a booth layout include accessible seating?
Yes. Accessible dining positions should be planned into the layout from the start, not added after the room is full. The ADA Standards set requirements for accessible dining surfaces, knee and toe clearance, and clear floor space. A local architect or code professional can confirm how those requirements apply to a specific project.