Restaurant Planning
Restaurant Booth Spacing: A Practical Planning Guide
A booth plan works when the people using the room can sit, serve, pass, and leave without the furniture asking them to negotiate every move.
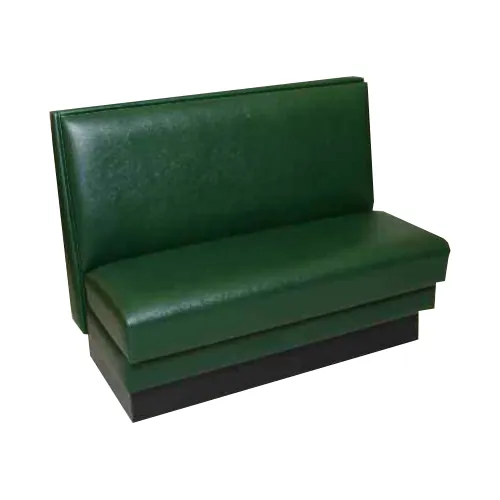
Restaurant booth spacing sounds like a measurement question. It is really a use-of-the-room question. The finished booth, table, base, and aisle have to work together when diners are seated, a server is carrying plates, a guest is leaving the inside seat, and the restaurant is at its busiest. A plan can look efficient from above and still feel cramped once the room is alive.
The useful approach is to stop looking for one universal distance between booths. Booth construction, cushions, table size, service style, and the route around the setting all change the answer. Instead, build the complete seating module, then test the real movements it needs to support. That gives the project team a practical way to protect comfort without giving away space where it is not needed.
This guide is for restaurant teams, designers, and builders choosing ready-to-order seating. It focuses on the decisions that should happen before furniture is ordered: defining the booth module, checking entries and aisles, considering accessible dining positions, and reviewing the room as it will operate. It is not a substitute for a final plan or code review, but it gives that review better questions to answer.
Think in Modules, Not Isolated Measurements
A booth does not occupy only the footprint of its seat. The working module includes the finished seat and back, the table edge, the table support, the opposite seating when there is one, and the space people need to reach the setting. The aisle beside it is part of the module too. If any one of those pieces is left out of the sketch, the final room may be tighter than the plan suggests.
Start with the actual furniture whenever possible. A preliminary block on a floor plan cannot show the thickness of an upholstered back, the table overhang, the position of a base, or the place where a guest swings a knee as they slide into the inside seat. Use the finished dimensions and pair the booth with the tabletop and base under consideration. The site’s restaurant booth dimensions guide can help organize that first footprint review.
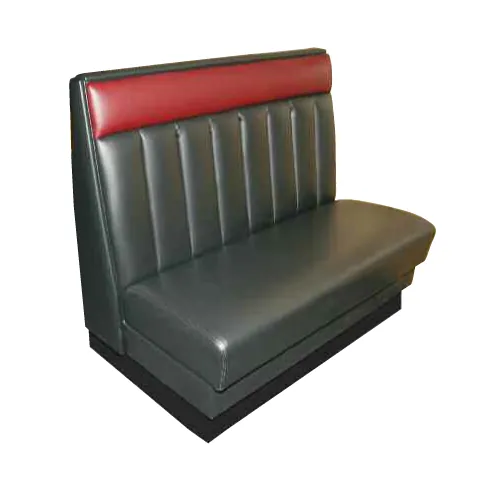
There is also a difference between the booth footprint and the room around it. A table may fit neatly between two seating runs while the end of the setting blocks a passage. A wall booth can feel excellent until a nearby chair is pulled out. Looking at the module in context prevents a small local decision from creating a larger circulation problem.
Begin With the Guest Journey Into the Seat
Guest entry is where a booth spacing decision becomes tangible. Ask how someone reaches the outside seat, how they slide toward the inside seat, where a bag or a high chair may land, and what happens when someone leaves while the other side of the table is occupied. A space that works only when one diner is seated is not a working restaurant setting.
Pay special attention to the ends of booth runs. A doorway, corner, host path, wall return, or loose table can make the final booth in a row feel more constrained than the repeating middle positions. That does not always mean the booth should be removed. It means the entry needs to be drawn and tested as carefully as the more obvious center-to-center layout.
The meal matters here as well. A compact coffee or quick-lunch setting may have a different rhythm from a full-service dinner where coats, bags, children, shared plates, and longer stays are normal. Start by defining the parties and service moments the booth will serve most often. Then make the spacing match that reality rather than a generic diagram.
Give the Table and Base Their Full Share of the Plan
Tabletops and bases are often chosen after the booth shape has been approved. That sequence is backwards. The table is the working center of the setting, and its depth, edge position, and support change both comfort and circulation. A top that looks modest on its own can crowd entry once it is paired with a deep seat. A support that works under one top can interfere with leg room in another arrangement.
Review the table from the seated perspective. Can diners settle in without pressing against the table edge or base? Can the person on the inside seat leave without an awkward maneuver? Does the table give the intended party enough usable surface for the menu and meal? The related restaurant booth table guide helps teams compare those questions before they commit to a top or base.
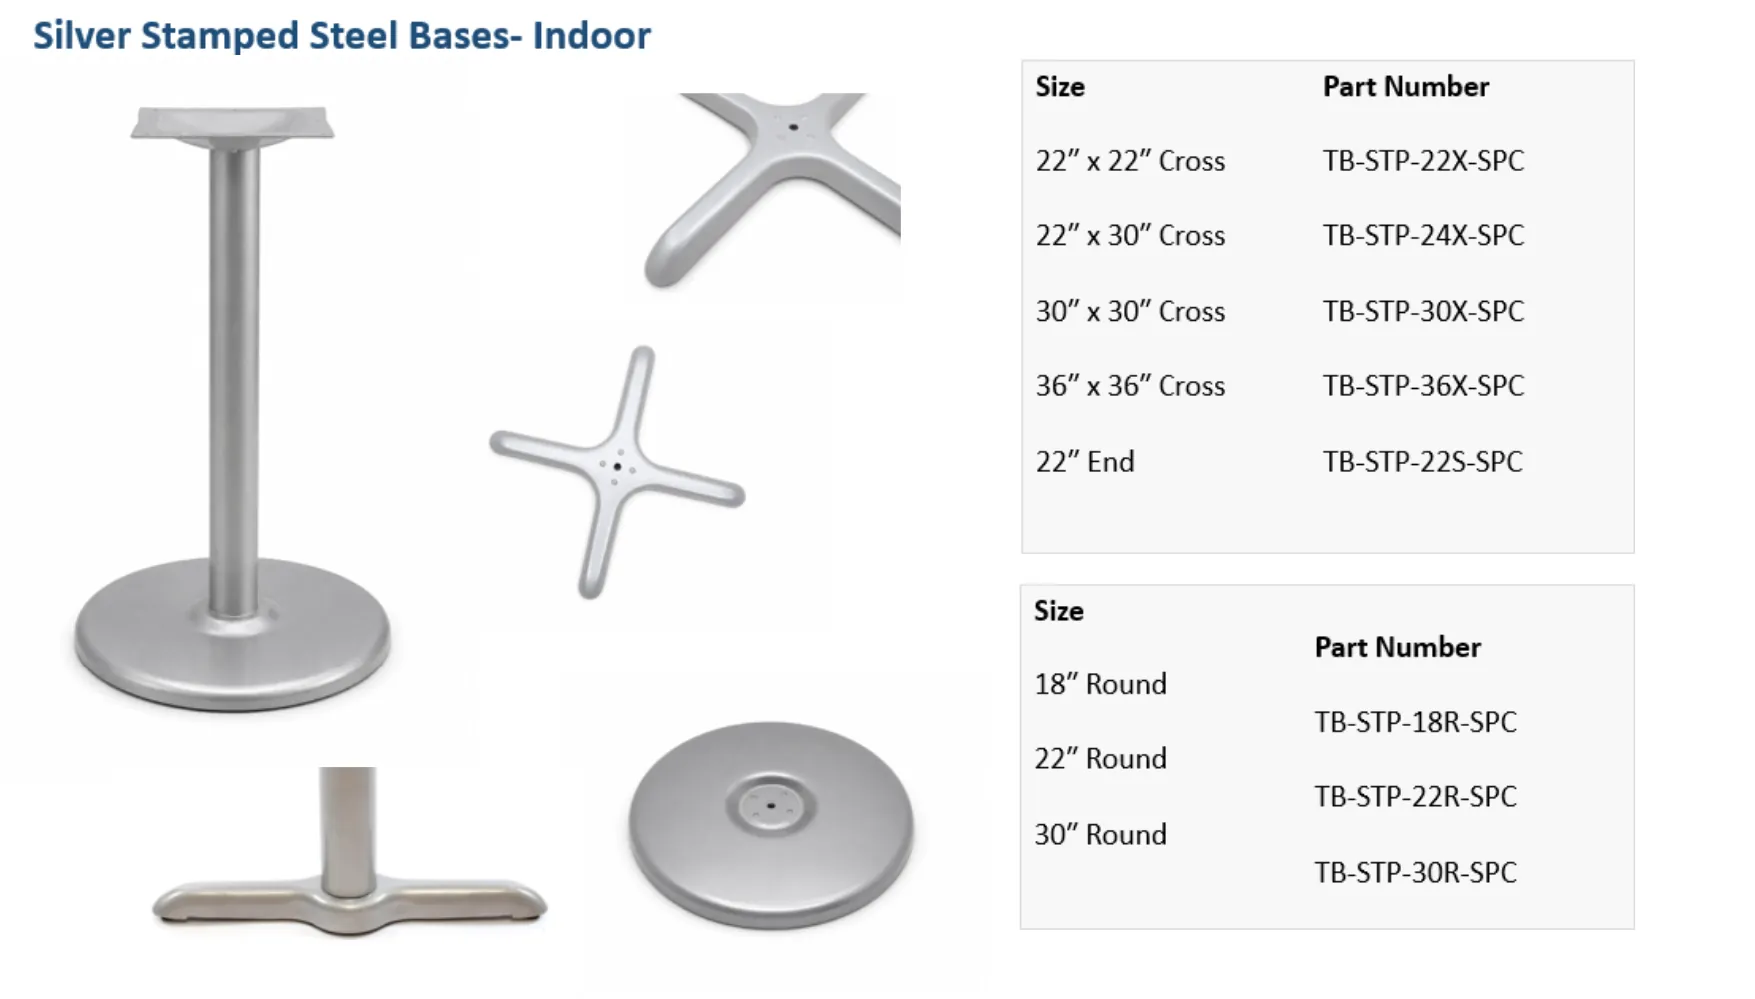
Bring the available product range into the discussion early. The tables and bases and booth seating can be compared as a set, rather than selected as separate purchases. That is especially helpful when a room repeats a single booth module, because one well-tested combination can establish a dependable rhythm through the whole dining area.
Map Service Flow Before Chasing More Seats
More seats do not automatically make a room more productive. A tight passage can slow the host, the server, the cleaning team, and the guests who are trying to leave. If service becomes awkward, the extra seat count may cost more in friction than it adds in capacity. Booth spacing should support the route the restaurant uses during the busiest few minutes of service, not just the quietest minute of the day.
Trace the important routes on the plan: entrance to host stand, kitchen to the farthest booth, service station to the tables it supports, and dining area to restrooms. Then look for the intersections. A booth row near a station, doorway, or aisle turn often needs more thought than a straight run along a quiet wall. These are the places where occupied chairs, an open door, or a guest standing up can turn a nominal path into a pinch point.
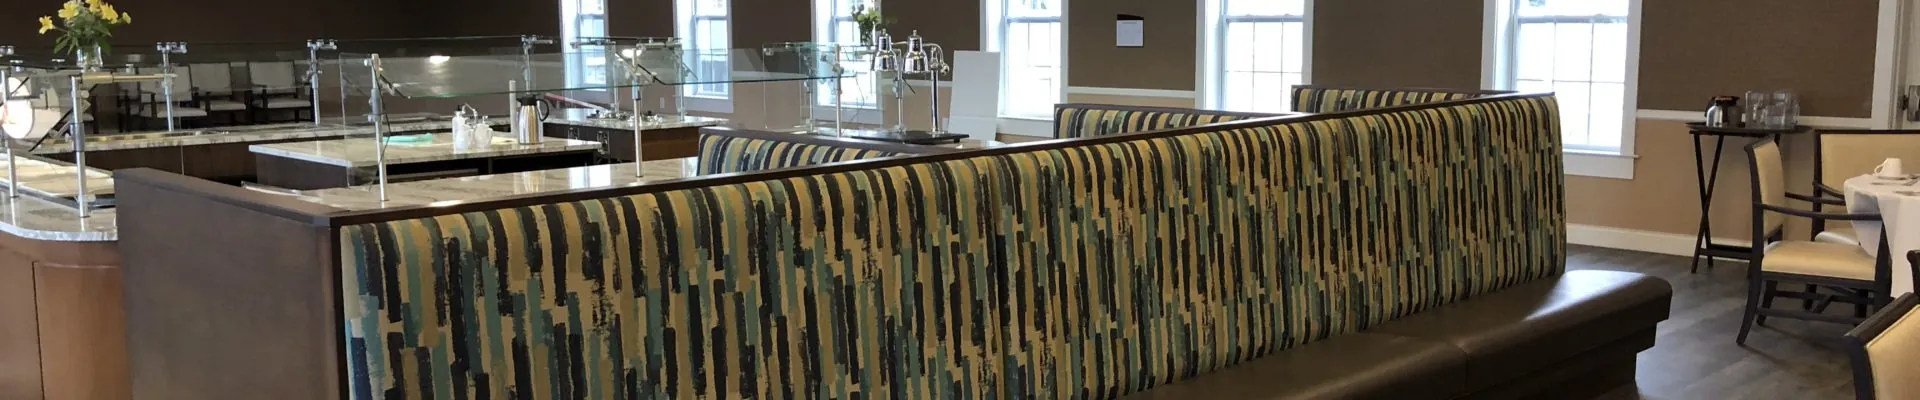
Walk the plan through several ordinary situations. Picture a server delivering plates while a guest leaves an inside seat. Picture a host seating a family near a booth row while another table is paying. Picture a cleaner moving between tables at the end of a shift. If the route depends on someone waiting, sidestepping, or moving another piece of furniture, revise the module before the order is set.
Build Accessible Dining Into the First Review
Accessible dining positions and routes should not be a late correction once every booth has been placed. The 2010 ADA Standards for Accessible Design set technical and scoping requirements for public accommodations and commercial facilities, including accessible routes, clear floor space, knee and toe clearance, and dining surfaces. A qualified designer or code professional should apply those requirements to the specific project and jurisdiction.
For the furniture planning conversation, the important habit is straightforward: identify accessible dining positions and the route to them at the same time the booth rows are being drawn. Do not treat accessibility as space left over after the most compact layout has been arranged. A clear approach and usable table position are part of a welcoming, functional dining room.
That review often improves the whole plan. It forces the project team to look closely at entries, turns, table supports, and paths that every guest and staff member will use. The result is not only a more considerate room. It is also a room with fewer hidden bottlenecks.
Check the Conditions the Plan Cannot Show
Existing spaces have details that simple layouts miss. Baseboards, trim, wall protection, outlets, columns, doors, floor transitions, vents, and utility covers can all change how a booth run fits. Renovation drawings may also omit small changes that occurred after the original plan was made. Those details become important quickly when furniture is fixed against a wall.
Measure the actual room before the order is final. Confirm the finished wall condition, the swing of nearby doors, and the portions of the floor that need to remain clear. At the same time, check where booth runs begin and end. A clean end condition makes the layout feel intentional. An awkward one becomes the place guests avoid and staff work around every day.
It also helps to test the furniture in the context of the entire seating mix. Booths can create useful rhythm along a wall, while commercial chairs may give an open area more flexibility for different party sizes. The goal is not to fill every available inch with the same seating type. It is to give each part of the room a job and leave the routes between those jobs clear.
Use a Spacing Checklist Before Ordering
A short review can prevent the most common booth-spacing mistakes. Work through it with the actual seating, tabletop, and base selections in hand.
- Define the dining pattern. Identify the usual party size, meal style, service pace, and length of stay for each booth zone.
- Draw the complete module. Include finished booths, the tabletop, the base, guest entry, and the aisle beside the setting.
- Test both ends of every run. Corners, doorways, and nearby loose seating often change the practical entry.
- Trace the busiest service routes. Follow staff and guests through the room when several things are happening at once.
- Review accessible dining positions early. Confirm the final approach and table arrangement with the appropriate project professional.
- Field-check the room. Verify walls, trim, doors, columns, outlets, and other built conditions before the order is released.
- Keep the furniture choices together. Review the booth, top, and base as one working setting, not as unrelated items.
Bring Booth Spacing Together With Ready-to-Order Seating
Good restaurant booth spacing is not about squeezing a fixed number of seats into a room. It is about making the room work once those seats are occupied. When the booth, table, base, guest entry, and service path have been reviewed together, the finished setting feels calm and natural. Guests can settle in, staff can move, and the room holds up during service.
Have a Seat USA offers off-the-shelf commercial booths, tables, bases, and seating for hospitality spaces. Start with the available pieces, then use the room plan and service needs to narrow the combinations that fit. For a second set of eyes on the product mix, talk with the team about the furniture that supports the way the room needs to operate.
Talk through your seating planFrequently Asked Questions
How much space should be between restaurant booths?
There is no single number that fits every restaurant booth. Start with the finished booth depth, table width, base position, guest entry, and the aisle beside the setting. Then test the exact combination in the room plan. A dimension that works for a compact lunch setting may feel wrong for a longer meal, a wider table, or a busy service route.
What should be included in a restaurant booth spacing plan?
Include both finished booths, the tabletop, the base, the space a guest uses to enter and leave, and the route staff and other guests use around the setting. Doors, corners, wall details, service stations, and nearby loose seating can all change the usable clearance.
Should booth spacing be checked before furniture is ordered?
Yes. Fixed seating is much less forgiving than loose chairs. Marking out the intended furniture footprint and walking the busiest paths before ordering helps reveal tight entries, blocked service routes, and awkward table positions while choices are still open.
Do restaurant booth layouts need accessible dining positions?
Yes. Accessible dining surfaces and the route to them should be considered in the first layout review. The applicable requirements depend on the project and jurisdiction, so a qualified design or code professional should confirm the final arrangement.
Continue planning